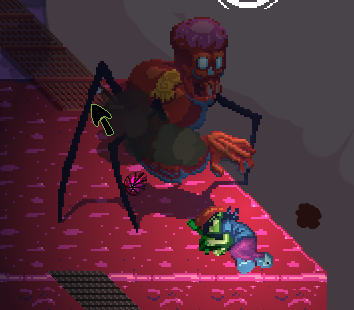
The team continues its work on Somnipathy, as we move into the 3rd nightmare, and with 2 full levels under our belt, it was time for a change of workflow for certain. While the intro was redone many times, the 1st nightmare didn’t ultimately take too much time to design. The ideas were fresh, and most time was spent building our Event, Interaction, and other core systems. But with the 2nd nightmare we drastically increased scope of things, and we ended up spending FAR more time than originally budgeted on it.
While the reasons for the 2nd nightmares delays (6 months for the level 2 vs 4 months for intro + level 1) are extensive, and probably worth their own post, the tools we were using certainly played a part in it. While the level 3 tileset was being developed, our content makers started experimenting with outside too. So we circled back around to Tiled.
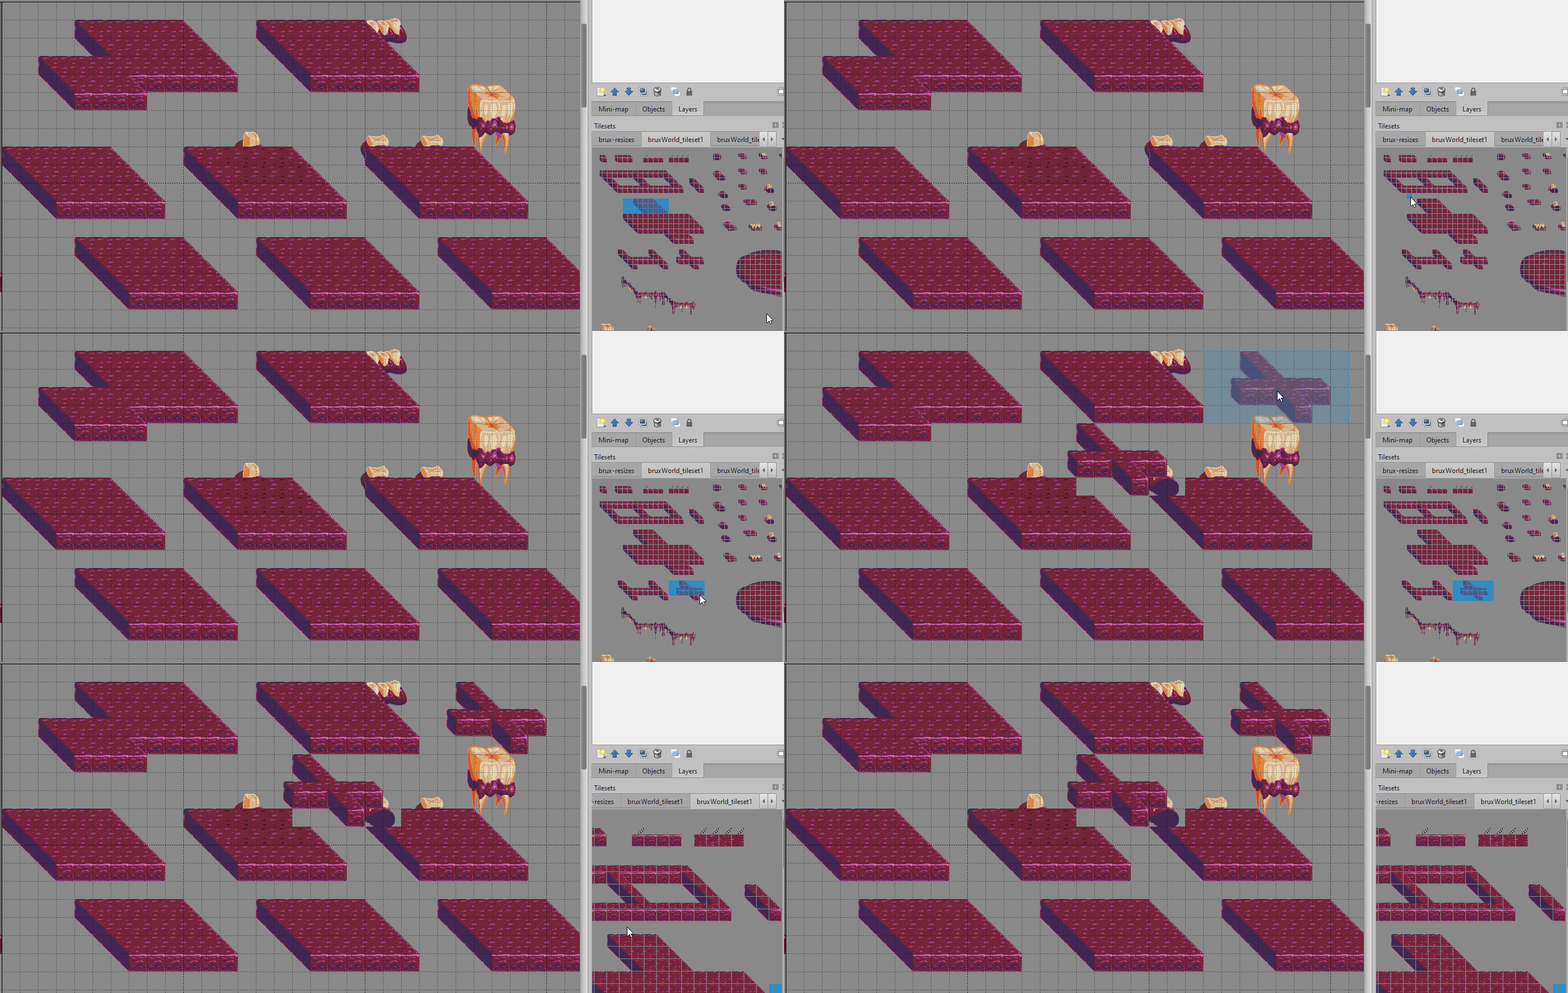
The ability to copy and paste arbitrary sizes is priceless
The workflow process for the levels in Somnipathy is somewhat complicated. We have some heavy metroidvania elements of exploration and short cut opening, which requires quite a bit of pre-planning. Then we also have ‘side’ areas unrelated to the main nightmare that are eventually required to explore, but more linear in design. Finally we have the day time interactions, which are closer to a Visual Novel than anything else. For this we go back to our Dungeon Master roots and hit pen and paper…
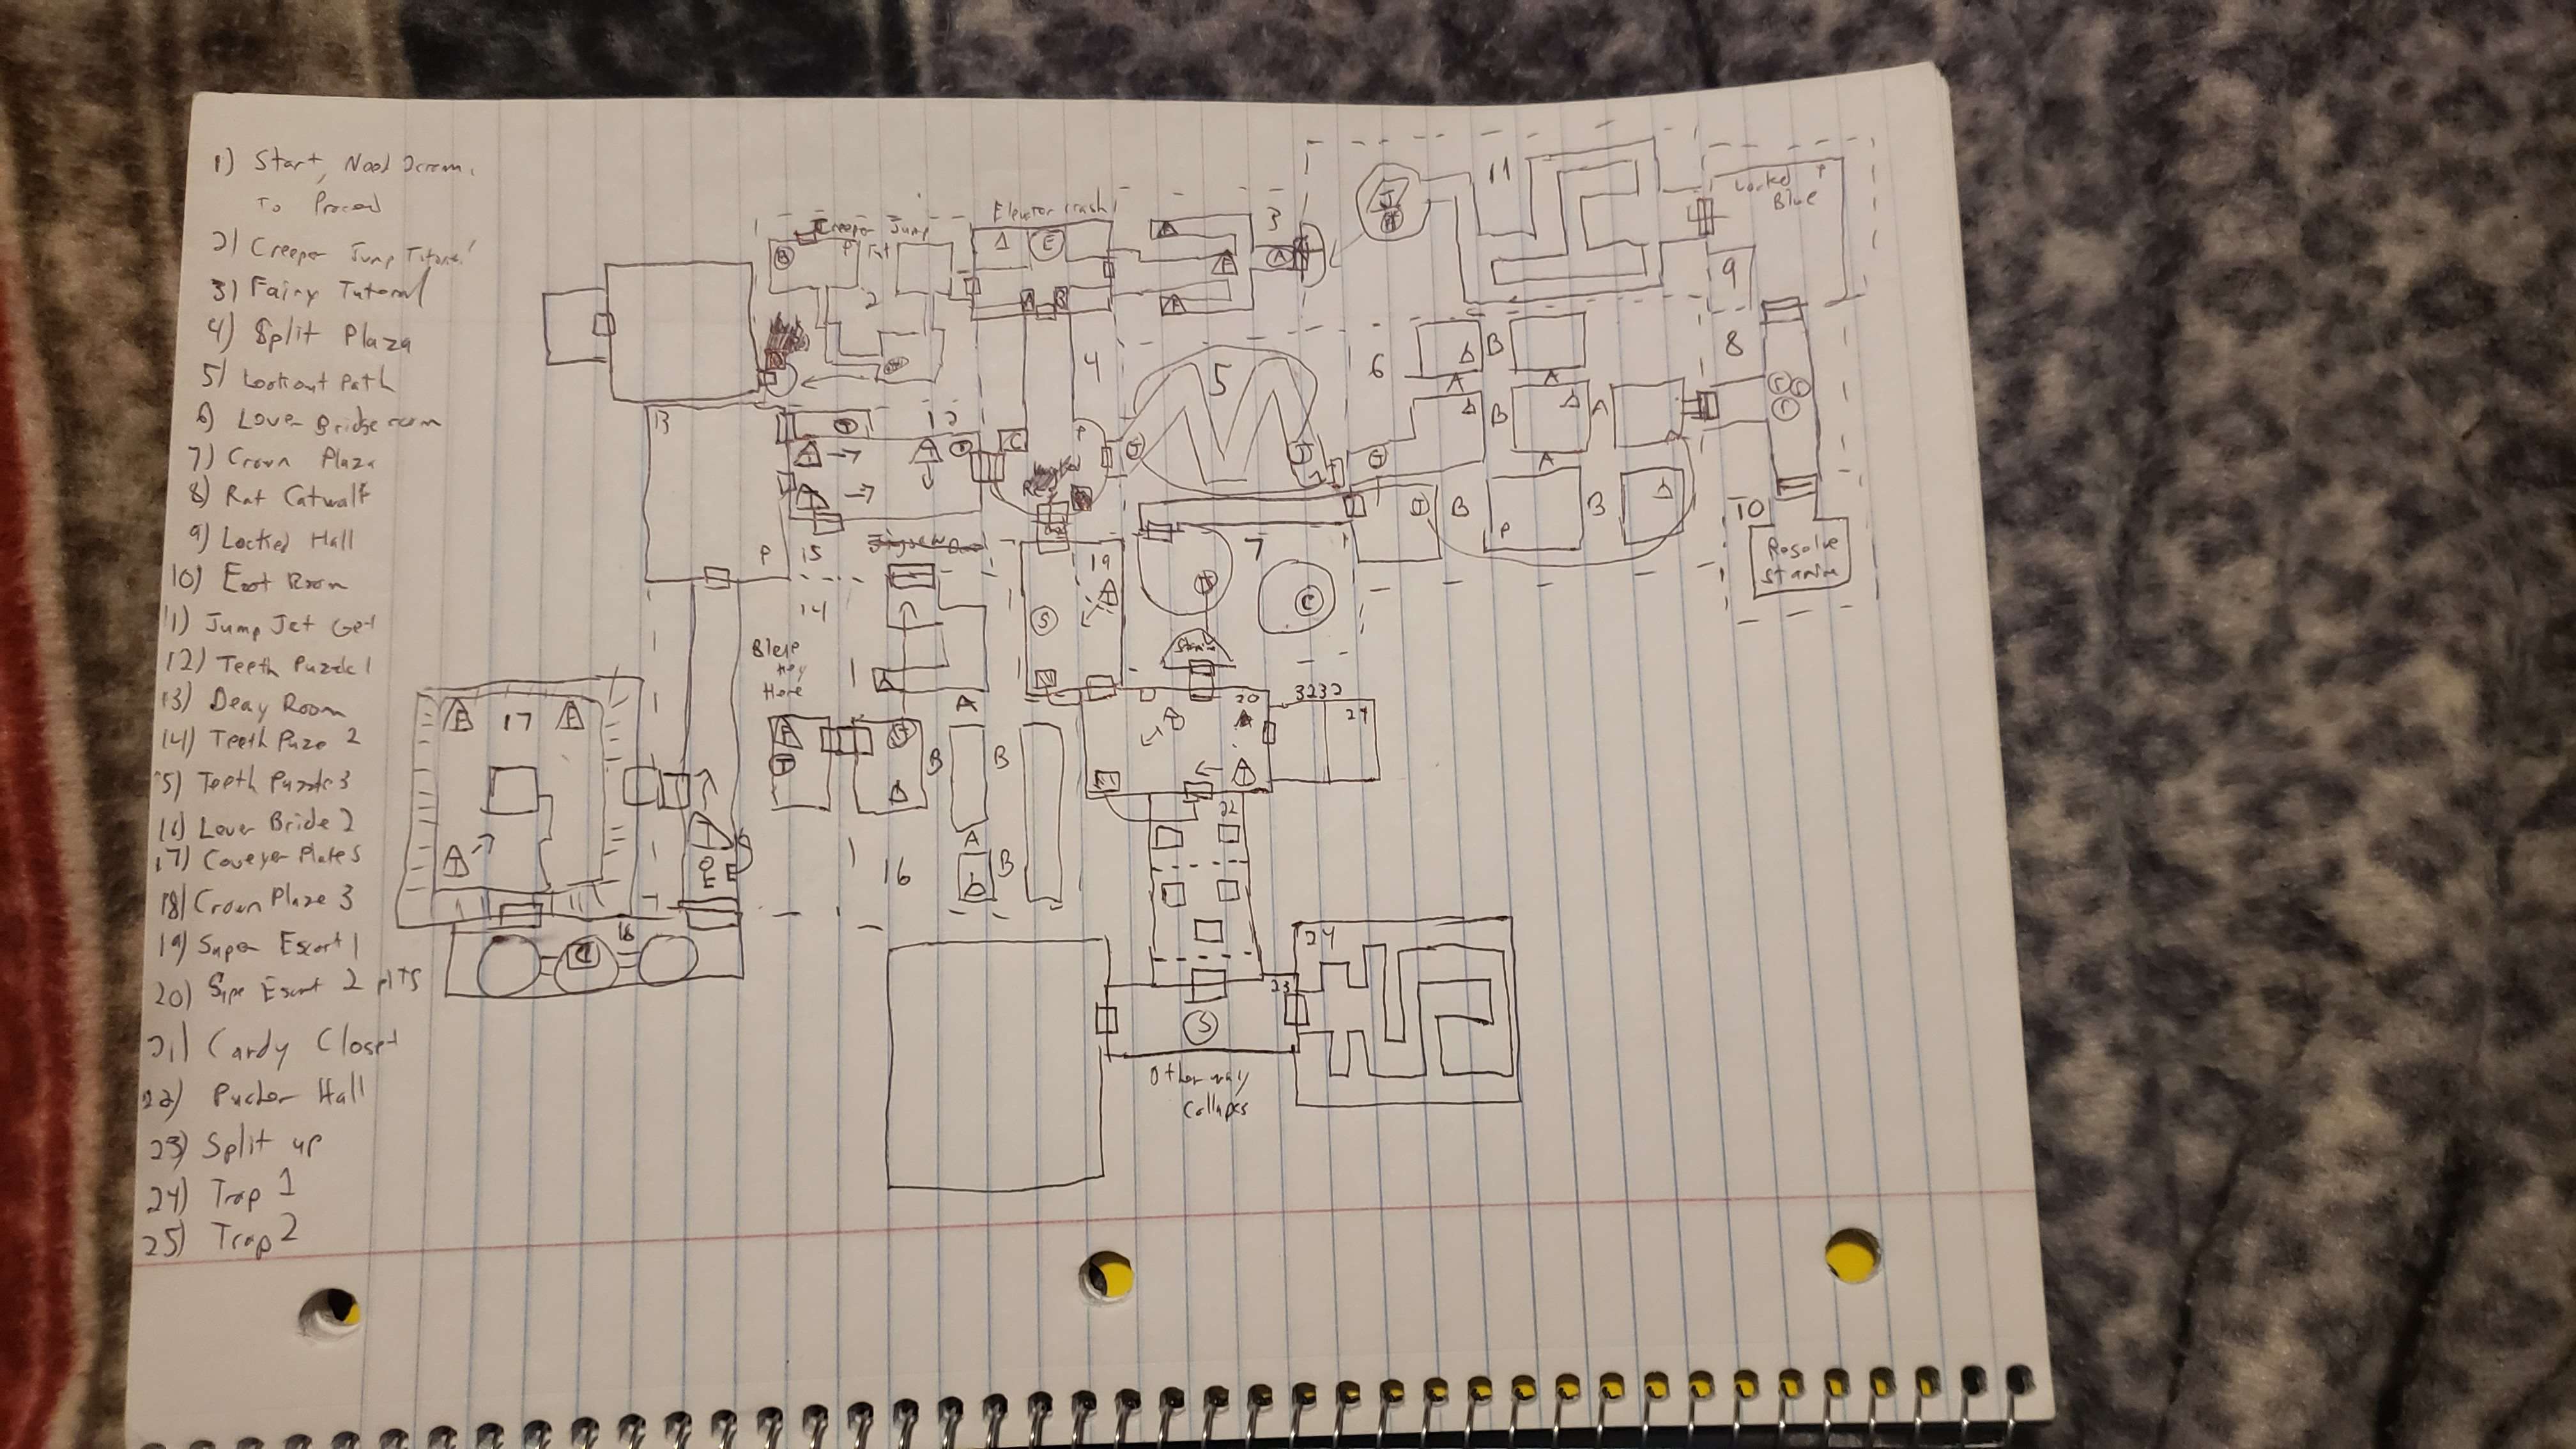
Spoilers! Level 3 design, maybe.
We’d then previously try to build this in Godots tile map editor. It did the job, but we often felt like we were fighting things. Adding new tilesets was cumbersome. Cutting the tiles and adding collisions was tedious. Tiled fixed many of our pain points, but how do you get Godot 3.5 to recognize the maps?
Enter this nice plugin The Godot Tiled Importer. There are many different variants out there, the project has forked a few times, but this was the one we used successfully. It did come with a couple caveats, however.
- We use Dialogic for MANY things and Dialogic 1.x for Godot 3.5 stores these things in JSON files. The tiled Importer plugin will try to interpret those files as maps by default, breaking many things. We instead used Tileds XML format. Make sure to hit your project settings to disable json format to fix this problem.
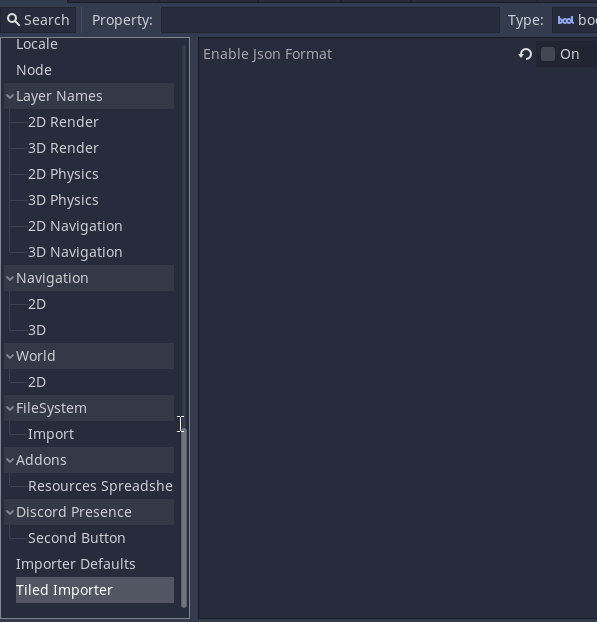 You disable JSON importing here!In addition, if Godot has already tried to import the JSON files before you disable things, you may need to do a clean up. If you’re using Dialogic, you can check out the step by step instructions given here.
 - Given we already had a set of requirements for our tilemaps, we needed Tiled to set a bunch of properties for us. We do that with a Post Import script, which you set in the Import tab.
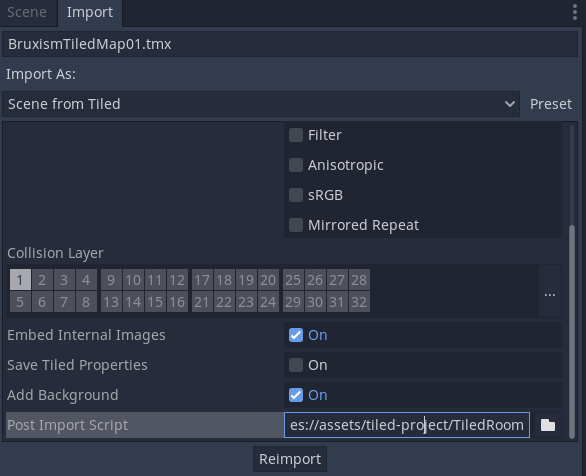 You set the tiled script here!The script for us at the moment is pretty simple.
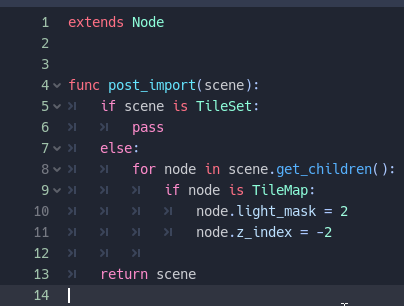 We could also check for Tiled ‘objects’ and instantiate objects in place of tiles here, among MANY other features such as reading and reacting to meta data on the tilemaps. But for now we keep it simple, and do the dressing in engine.
 - With the set up done, we can simply drag and drop the imported .tmx files into Godot. Any changes we make in tiled, will be automatically imported into Godot.
Its hard to state how much time this has saved us so far. The Tiled editor is simply more feature rich, faster, and easier to use then the in engine editor in Godot 3.5. While the editor has been drastically revamped in Godot 4+, we’re not in a position where upgrading the engine makes a lot of sense. While their are always risks when you change your process mid project, this has been an overall win for us. Cya next update, and don’t forget to Wishlist us on Steam to help us out.
